swiperのページネーションの色と形ってどうやってかえるの?

ページネーションの大きさを変えたり、色を変えたり、はたまた画像に差し替えたり。
swiperのページネーションをカスタマイズする方法を紹介します。
ページネーションの付け方
まずはシンプルなページネーションを実装します。
See the Pen custome-pagination by YT (@YT-the-scripter) on CodePen.
下記のjsとhtmlを記述することで、ページネーションを表示できます。
js
pagination: {
    el: ".swiper-pagination",
    clickable: true
  },
html
<div class="swiper-pagination"></div>ページネーションの色と形を変えてみる。
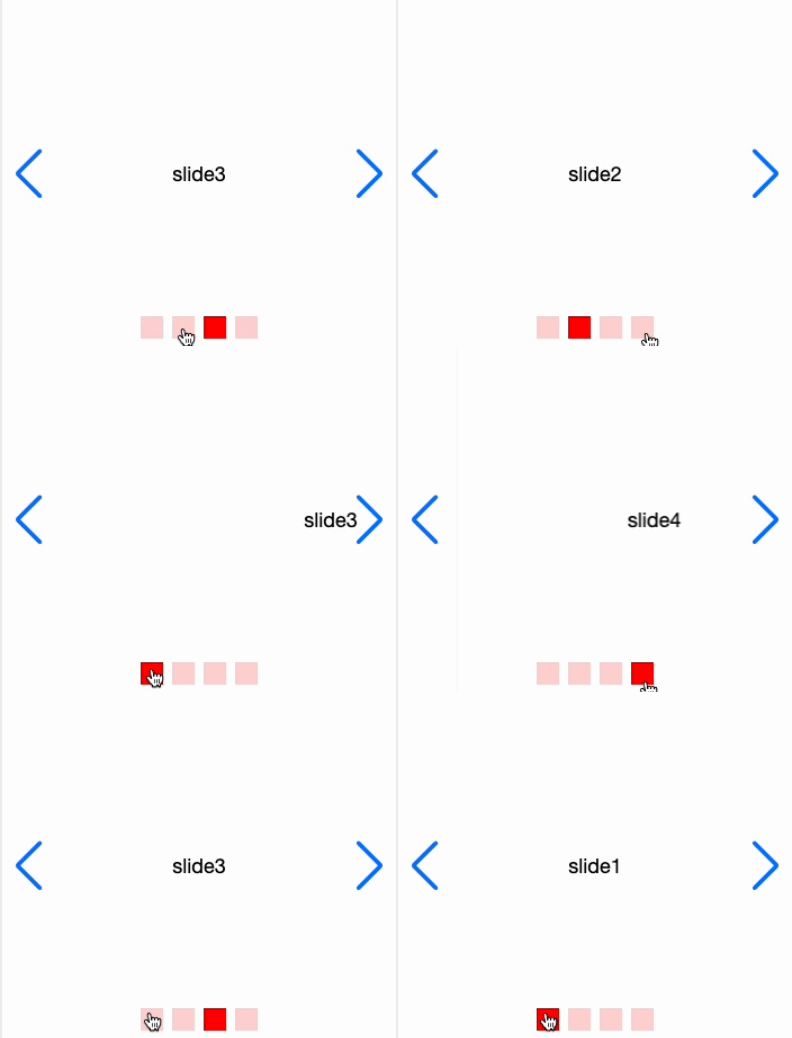
See the Pen Untitled by YT (@YT-the-scripter) on CodePen.
ポイントは下記のcssです。
.swiper-pagination-bullet {
  background-color: red;
  border-radius: 0;
  width: 30px;
  height: 30px;
}
.swiper-pagination-bullet というクラスにプロパティを当てることで、ページネーションボタンの色や形を変更できます。
それぞれのページネーションボタンに個別のcssを当てる
次にそれぞれのページネーションボタンに個別のcssを当てる方法を紹介します。
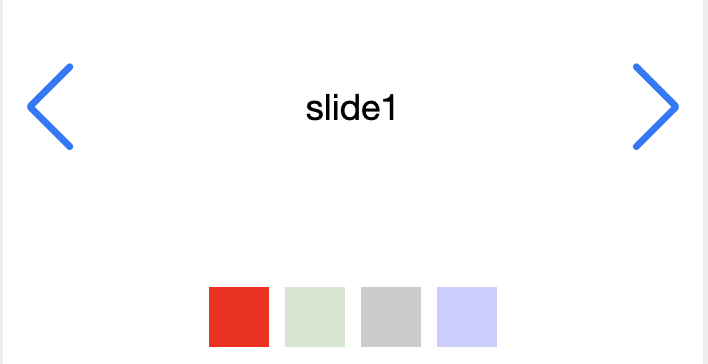
See the Pen pagination-each by YT (@YT-the-scripter) on CodePen.
下記部分で、nth-of-typeで各ボタンにcssを当てれば調整できます。
.swiper-pagination-bullet:nth-of-type(1) {
  background-color: red;
}

.swiper-pagination-bullet:nth-of-type(2) {
  background-color: green;
}

.swiper-pagination-bullet:nth-of-type(3) {
  background-color: black;
}

.swiper-pagination-bullet:nth-of-type(4) {
  background-color: blue;
}
まとめ
以上、今回はswiperのページネーションボタンのカスタマイズ方法について解説しました。
応用すれば、それぞれのボタンの位置を変えたり、星形やチェックボックス型なんかもできそうですね!
今回の記事が参考になれば幸いです。


コメント